How to Connect Printify to Shopify Without Overthinking It
Connecting Printify to Shopify is one of those things that sounds more technical than it actually is. In reality, it’s a straightforward setup that can save you a lot of time once it’s done right.
If you want to sell custom products without dealing with inventory, printing, or shipping, this connection is what makes the whole print on demand model work. Shopify handles the storefront and payments. Printify takes care of production and delivery. Your job is mostly choosing products, designing them, and making sure the setup doesn’t get in your way later.
In this guide, we’ll walk through how the connection works, what you actually need to do, and a few things worth checking before you hit publish so you don’t have to fix problems after orders start coming in.
First, What’s the Relationship Between Printify and Shopify?
If Shopify is your digital storefront, Printify is the silent partner handling your inventory, printing, and shipping behind the scenes.
Here’s the simplest way to think about it:
You: Design the products, list them in your Shopify store, and handle customer communication.
Shopify: Hosts your store, processes the payments, and gives you the tools to manage orders and marketing.
Printify: Prints the products and ships them to your customer once an order comes in.
When connected properly, Printify automatically receives order info from Shopify, processes it with one of their print partners, and ships it out without you lifting a finger.
That’s the beauty of automation. But it only works well if the setup is done right.
Before You Connect: What You Need
You’ll need working accounts on both sides. Here’s your quick pre-flight checklist:
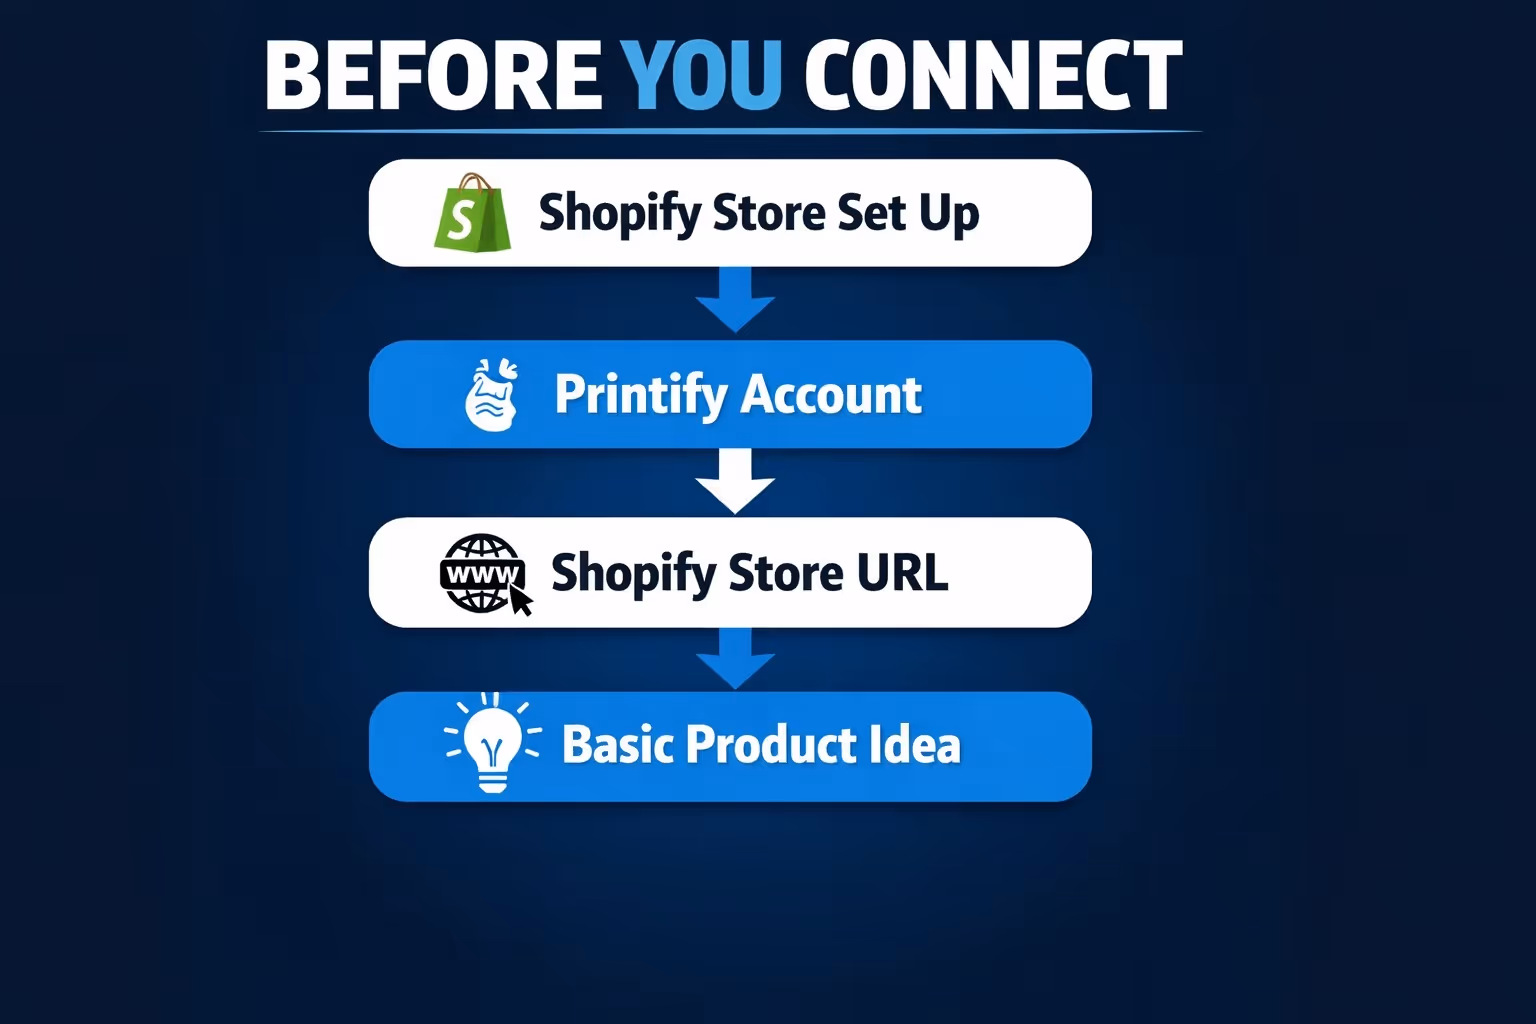
A Shopify Store That's Set Up
You’ll need an active Shopify account. A free trial works fine at the beginning, but to process real orders later, you’ll need to pick a paid plan. If your store is already up and running, you’re good to go.
A Printify Account
Head over to Printify and create a free account. There’s no charge to sign up, and you don’t need to add a payment method until you’re ready to start fulfilling orders.
Your Shopify Store URL
You’ll need to know your store’s full URL. It usually looks something like this: yourstorename.myshopify.com. You’ll be asked to enter it during the connection process.
A Basic Product Idea
You don’t need final artwork or a polished product catalog, but it helps to have a general idea of what kind of items you want to sell. T-shirts? Mugs? Phone cases? Knowing that upfront will save time when you start browsing Printify’s product catalog.
Once that’s sorted, you can connect either from Printify’s dashboard or from the Shopify App Store.
Common Ways to Connect Printify to Shopify
There’s more than one way to make the connection, and both get you to the same place. It just depends where you’re starting from and what feels more intuitive for you.
Option 1: Connecting Through Printify
This method starts inside your Printify account.
Step-by-step:
Log into Printify: Go to printify.com and sign into your account.
Open “My Stores”: You’ll see a menu item labeled My Stores on the left. Click that.
Click “Add New Store”: If this is your first store, you’ll see an “Add a store” button. Click it.
Choose Shopify: You’ll get a list of platforms (like Etsy, eBay, etc.). Pick Shopify.
Enter your store URL: Paste your Shopify store URL when prompted and click Connect.
Approve the connection: You’ll be redirected to Shopify to confirm installation. Click Install App.
That’s it. The two platforms are now linked.
Option 2: Connecting Through Shopify
You can also start from Shopify itself.
Here’s how:
Go to the Shopify App Store: Search for “Printify: Print on Demand” or go directly to the listing.
Install the app: Click Add App, and Shopify will prompt you to log in if you aren’t already.
Sign into Printify: You’ll be redirected to Printify’s login screen. Log in or create a new account.
Authorize the integration: That’s it. The two are now connected.
What Happens After You Connect
The Printify app now lives inside your Shopify dashboard. From here, you can:
Publish those products directly to your Shopify store.
Set prices, variants, and product descriptions.
Choose which print provider fulfills each product.
It’s smooth once you get the hang of it, but there are a few things worth pointing out.
A Smarter Way to Launch and Validate Shopify Ads
Once your Printify products are live and connected to Shopify, the next big move is getting them in front of the right people. That’s where we come in.
At Extuitive, we help Shopify store owners create and test ads that actually convert – without guessing, overspending, or running blind campaigns. You don’t need to be a marketer or dig through spreadsheets. Once your store is connected, our platform uses AI agents modeled after real consumer behavior to generate ad creatives, test them with virtual focus groups, and predict what will perform before you spend a dollar on live ads.
We built Extuitive to give growing eCommerce brands a faster way to go from idea to validated campaign. It’s ad creation, testing, and optimization rolled into one, built specifically for Shopify. So once you’ve got your Printify designs up and ready to sell, we’ll help you reach the people most likely to click, buy, and come back for more.
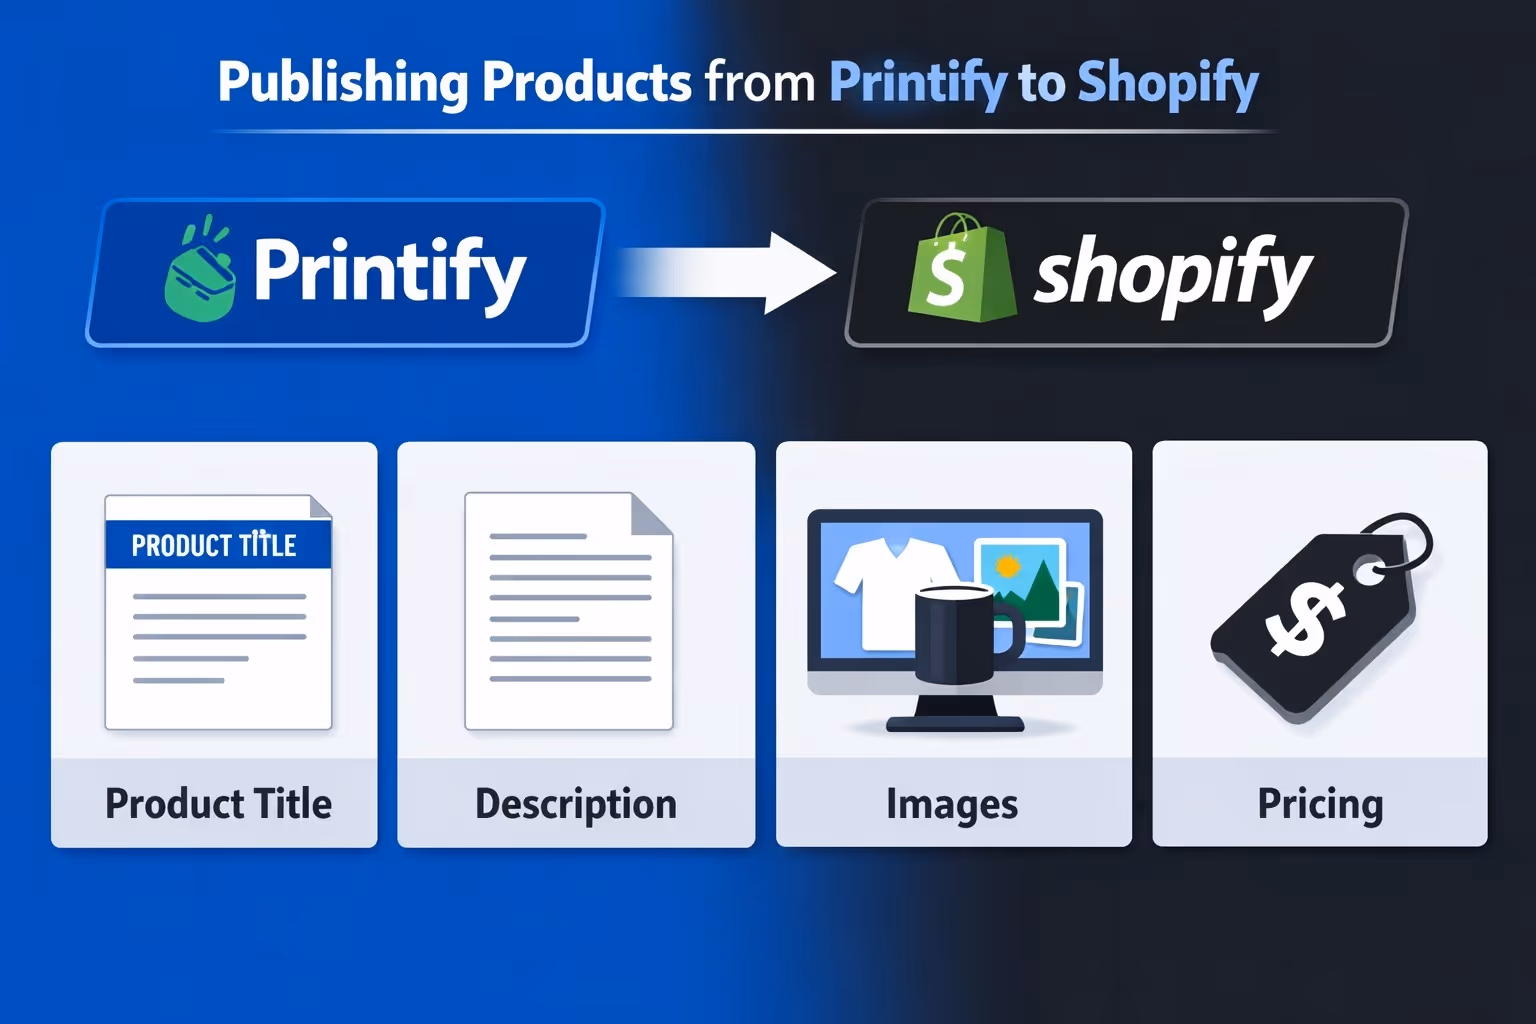
Publishing Products from Printify to Shopify: Things to Watch
When you add a product in Printify and hit “Publish,” it goes straight into your Shopify catalog. But don’t treat that button like a final step. There’s usually some cleanup needed.
Here’s what to double-check:
Product title: Does it match the tone of your store?
Description: Is it clear, useful, and not full of Printify’s default filler?
Images: Mockups are fine, but high-res lifestyle images perform better.
Pricing: Make sure your markup leaves room for profit after Printify’s base cost and shipping.
Collections: Assign the product to the right Shopify collection if you use them.
Once everything looks good, publish the product and make sure it’s active on your storefront.
How Orders Move from Shopify to Printify
After you’ve connected Printify to Shopify and published your products, the process mostly runs on autopilot. When someone places an order through your store, Shopify instantly sends the order details over to Printify. From there, Printify forwards the job to the print provider you selected – or the default one based on your settings. They handle the printing, packaging, and shipping straight to your customer. Once it’s on the way, tracking info gets sent back to Shopify so your customer can stay updated.
You won’t need to step in unless something unusual happens. Just keep in mind, all of this smooth automation only works if your fulfillment settings are set up properly from the start.
Key Settings to Review After Setup
Setting things up is only half the battle. To make sure orders move smoothly and your customers aren’t left wondering what’s going on, it’s worth taking a few minutes to check your backend settings. These aren’t complicated, but skipping them can lead to delays, missed orders, or awkward refund emails. Here's what to look at once the connection is live.
In Printify:
Automatic order submission: Make sure Printify is set to automatically submit new orders to production. You can choose immediate submission or set a delay window (like 24 hours) if you want time to review.
Order approval delay: If you want a buffer for changes or cancellations, adjust this to something reasonable like 12 or 24 hours.
Print provider selection: For each product, you can choose a preferred provider based on location, pricing, and fulfillment speed.
In Shopify:
Shipping rates: Align Shopify’s shipping costs with Printify’s actual rates. Otherwise, you’ll either overcharge or lose money on shipping.
Notifications: Set up automated emails so customers get tracking updates and delivery notifications.
Common Mistakes to Avoid
Even though the connection process is simple, here are a few traps people run into:
Don’t Leave Placeholder Text in Descriptions
It’s easy to hit “publish” before cleaning up the default text, but don’t skip this step. A product page with generic or placeholder copy doesn’t inspire trust. Take a few extra minutes to write something that actually makes sense for your customer.
Make Sure Products Are in the Right Collections
If your store uses collections for navigation (like menus or filters), forgetting to assign a product means it might not show up where it should. That’s an easy fix, but also an easy one to miss.
Double-Check Your Pricing
Printify gives you a base cost, but it’s on you to set the retail price. Make sure you’ve factored in shipping, platform fees, and your profit margin. A pricing mistake might not show up until after someone places an order – when it’s already too late to fix.
Always Test Before You Launch
Order a sample product before you start running ads or announcing your launch. You’ll learn more from seeing, touching, and even unboxing the item than from any mockup or product page preview. Plus, it's the best way to spot any quality issues before your customers do.
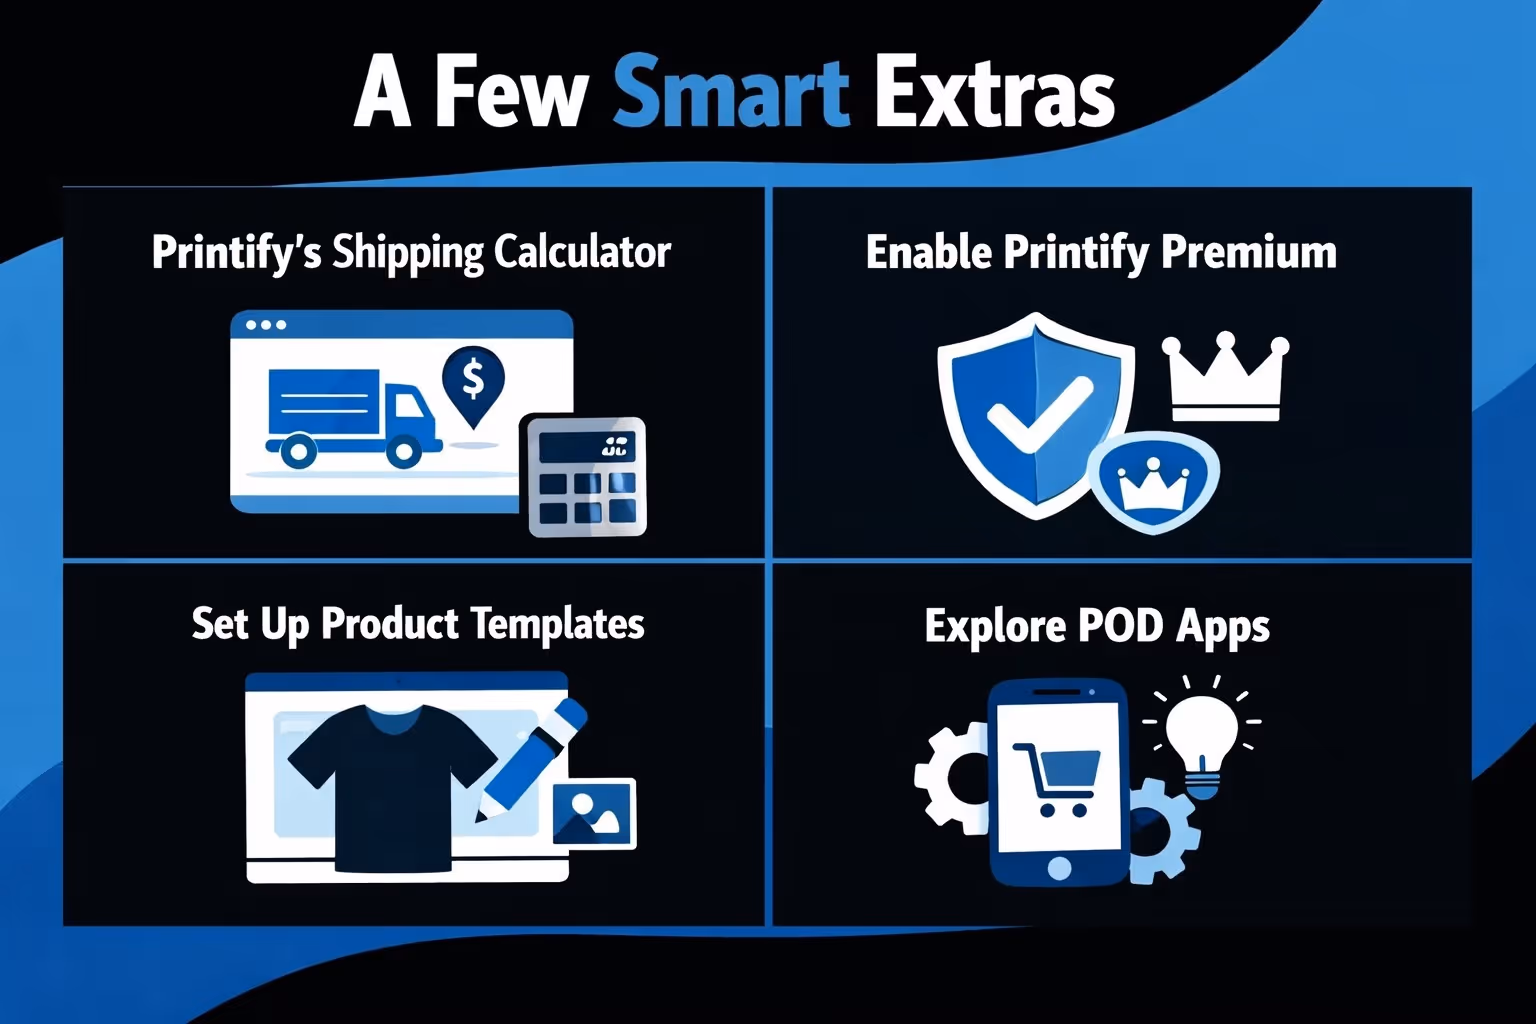
A Few Smart Extras
Once your store is up and running, here are a few more things you can do to optimize the experience:
Use Printify’s shipping calculator to get accurate rate estimates.
Enable Printify Premium if you’re scaling (it gives you lower base prices).
Set up product templates if you plan to sell multiple designs on the same product type.
Explore other POD apps if you want to test fulfillment quality, but remember they’ll require a separate setup and won’t integrate with your Printify products.
Final Thoughts
Printify and Shopify were practically made for each other. One handles the selling and payments. The other takes care of production and fulfillment. You get to focus on creative direction, marketing, and customer relationships.
Yes, the integration only takes a few minutes to set up. But the real value is in how you manage it over time: pricing smart, keeping your product listings fresh, and making sure the customer experience is smooth.
It’s not magic, but it’s close. And if you get the connection right from the start, the rest gets a lot easier.
FAQ
1. Do I need a paid Shopify plan to use Printify?
You can connect Printify to Shopify on the free trial, but customers won’t be able to place real orders until you choose a paid Shopify plan. Printify connects just fine on the trial, but you won’t be able to actually process real customer orders until you upgrade. That’s where things go from “testing an idea” to “running a business.”
2. Can I use Printify without installing the app in Shopify?
No matter where you start the connection – from Printify or Shopify – the Printify app will be installed during the process. It’s essential for syncing and automation. It’s not just a nice-to-have integration – it’s what makes order automation, product syncing, and tracking updates possible. The app is free, and installation takes just a few clicks.
3. How do I make sure Printify sends the right product when someone orders?
It all comes down to how you publish the product. Before you hit “publish,” double-check your variants (like size and color), your selected print provider, and your shipping settings. If something feels off, fix it before it goes live – not after your first angry email.
4. Can I edit a product after I’ve published it to Shopify?
Yes, but be careful where you edit it. If you make changes inside Shopify, they won’t sync back to Printify. The safer move is to update the product in Printify and re-publish it. That way, both platforms stay in sync and you avoid weird issues with pricing or product images.
5. What happens if a customer changes their mind after placing an order?
Printify moves pretty fast. If auto-fulfillment is turned on, that order might already be in production. You can set a delay window in Printify to give yourself a short buffer – say 12 or 24 hours – for last-minute changes or cancellations. Just don’t forget you set it, or you’ll be chasing shipping confirmations that haven’t even been triggered yet.
6. Is it better to use multiple print providers or stick with one?
There’s no one-size-fits-all answer here. Some sellers like to test a few and compare fulfillment speed or print quality. Others pick one reliable provider and build around that. If you're starting small, stick with one. Once orders grow, explore other providers to keep up with demand or improve delivery times by region.
How much are you wasting on Meta ads? Connect your ad account. See your ad efficiency.