Does Shopify Use Stripe? Here’s the Real Story
Wondering if Shopify runs on Stripe? Here's how Stripe powers Shopify Payments and what it means for store owners.
Jan 26, 2026


Connecting Shopify to Instagram sounds like a quick win. A few clicks, some product tags, and suddenly your posts are selling for you. That’s the promise, at least. The reality is a bit messier. There are accounts to link, settings buried in Meta tools, approval steps that don’t always explain themselves, and recent changes that quietly broke old tutorials. None of it is hard, but skipping one small detail can stall the whole setup.
This guide walks through how connecting Shopify to Instagram actually works today. What you need before you start, how the pieces fit together, and what to check so you don’t end up wondering why product tags never show up. No hype. Just the practical path from store to shoppable posts.
At its core, connecting Shopify to Instagram creates a shared product catalog between your store and Meta’s commerce system. Your Shopify products become the source of truth, while Instagram simply displays and references that data.
When someone taps a tagged product on Instagram, they are not buying inside the app anymore. They are viewing product information pulled directly from Shopify and then continuing to checkout on your website. Instagram handles discovery and context, while Shopify handles the transaction itself.
This setup keeps product information consistent across channels, allows inventory to update automatically instead of being managed manually, and lets ads pull directly from your product catalog. It also makes sales attribution easier to track, since traffic and conversions flow back to Shopify instead of being split across platforms.
What it does not do is replace your store or guarantee results. If your product pages load slowly, look confusing, or feel untrustworthy on mobile, Instagram traffic will still bounce. The integration removes friction, but it does not remove responsibility.
A lot of confusion around Instagram Shopping comes from outdated expectations. For a while, some sellers could use native in-app checkout, mostly in the US. That era is ending.
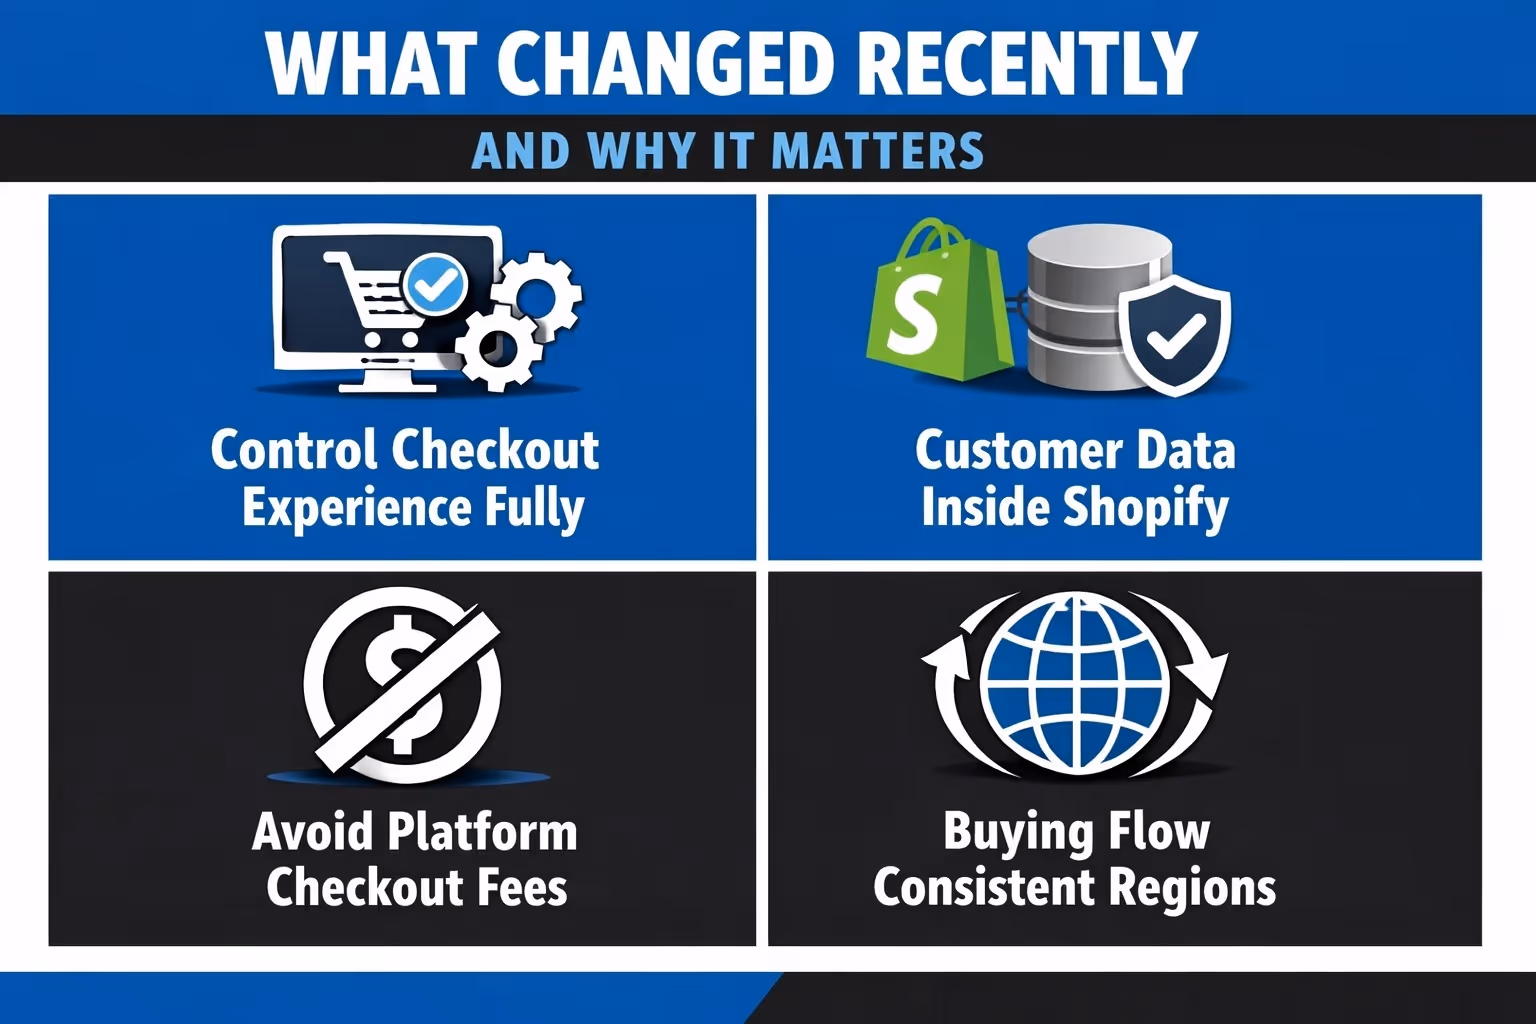
Meta has moved all Instagram Shops to website checkout. This means every purchase now finishes on the merchant’s site, usually through an in-app browser. While this may sound like a step backward, it actually simplifies things in the long run.
Here is why the change matters:
It also means your Shopify store has to be ready. Product pages need to be clear. Checkout needs to be fast. Mobile experience is no longer optional. Instagram brings the visitor. Your site closes the sale.
Skipping preparation is the main reason setups fail. These requirements are not suggestions. They are checks Meta runs during review.
Your Shopify store must be active and accessible. That means:
Meta reviewers need to see what you are selling. If they cannot access your store, approval stops.
Only professional accounts can use shopping features. Switching from a personal account takes a few minutes, but it is essential.
A professional account gives you:
Without this switch, the Shopping option never appears, no matter what else you do.
Instagram Shopping is managed through Meta’s ecosystem. That ecosystem still relies on Facebook Pages.
Your Instagram account must be connected to a Facebook Page that represents the same business. Names, URLs, and branding should match as closely as possible. Inconsistencies often trigger delays or rejections.
Instagram Shopping is not globally available. Your business location is checked during review. If your region is not supported, the setup cannot proceed, even if everything else is perfect.
Meta has strict commerce policies. Some product categories are restricted or prohibited entirely. Others require special approval.
One non-compliant product can block your entire catalog. Before syncing, review what you are selling and remove or hide anything that might violate policy.
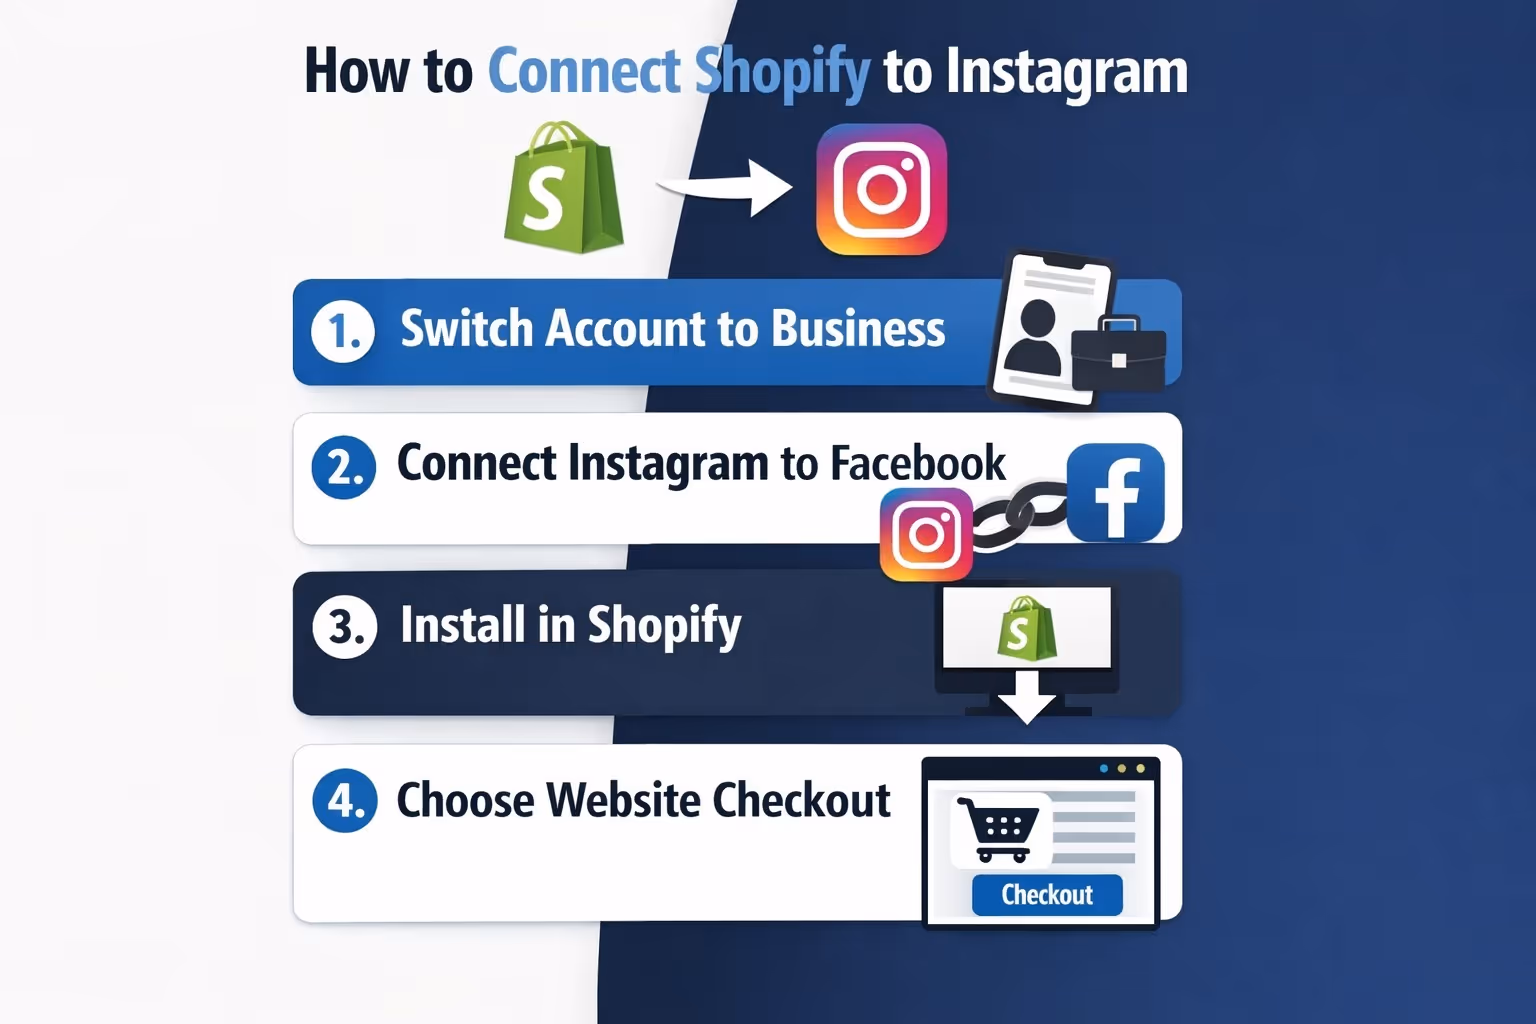
Open Instagram and go to your profile settings.
Navigate to:
Choose Business or Creator, select your category, and add contact details. This step unlocks all commerce features later in the process.
Log into the Facebook account that manages your business Page.
From Page settings, find the Instagram section and connect your Instagram account. Confirm permissions when prompted.
This connection allows product catalogs and ads to work across platforms. Without it, nothing downstream functions correctly.
Inside Shopify: Open Sales channels - Click Add sales channel - Choose Facebook and Instagram.
Install the channel and log in to Facebook when asked. Grant permissions so Shopify can manage catalog data and submit your store for review.
This channel is where most setup issues appear later, so take your time here.
During onboarding, select checkout on website.
Shopify will start syncing your product catalog. This includes:
Before moving on, double-check that the products you want visible are marked as available for Facebook and Instagram inside Shopify.
Once syncing finishes, Shopify submits your account for review.
This step requires patience. Approval can take a few days. During this time:
If changes are needed, Meta usually sends a notification explaining what to fix.
After approval, open Instagram and go to: Settings - Business - Shopping
Select your product catalog and complete the setup. Once enabled, your profile shows a shop section and product tagging becomes available.
If the Shopping option does not appear, review status is still pending.
Now you can tag products directly in your content. Product tags should always match what is actually visible in the image or video and feel relevant to the post itself. They work best when used consistently, but without being aggressive or forced.
Over-tagging can quickly feel spammy and often does the opposite of what you want. Instead of pushing a sale, treat product tags as helpful context that supports the content rather than dominating it.

Once Shopify is connected to Instagram, the technical setup is mostly done. What drives results after that is ad performance. Which creatives people stop for, which messages make sense at a glance, and which formats actually send visitors to your product pages.
That is where Extuitive comes in.
We built Extuitive to take the guesswork out of ad creation. Instead of relying on intuition or slow A/B testing, we use an ecosystem of AI consumer agents to pressure-test ad concepts before they go live. These agents react to copy, visuals, pricing angles, and formats like reels or static posts, helping us identify which combinations are most likely to convert.
For Shopify brands running Instagram ads, this means generating multiple ad variants at once, exploring different creative directions in parallel, and focusing budget on ideas that show real promise early. Our approach is evolutionary rather than linear. We let strong concepts surface through testing instead of trying to perfect a single idea in isolation.
Shopify handles the commerce. Instagram delivers the attention. We make sure the ads connecting the two are worth clicking.
Most problems with Shopify and Instagram shopping come from a small set of setup mistakes. These are the ones that show up most often.
In most cases, the fix is straightforward. Review the Facebook and Instagram sales channel inside Shopify, correct the issue, and request another review if needed. Avoid deleting products unless absolutely necessary. Updating existing listings is usually the safer option.
Your profile sets the tone long before anyone taps a product tag. A clear bio that explains what you sell, recognizable visuals that match your brand, and a clean, working store link all help build trust at a glance. When someone lands on your profile from a tagged post, they should immediately understand what your store offers and feel confident clicking through.
Products tend to sell better when people can see them in real use, not just isolated on a plain background. Lifestyle photos and videos give context quickly and help viewers imagine how the product fits into their own lives. This kind of content reduces hesitation because it answers unspoken questions before someone even opens the product page.
Consistency matters more than frequency. Posting on a regular schedule helps both the algorithm and your audience know what to expect, but posting too often without intention can dilute your message. A few well-planned posts with clear visuals and thoughtful tagging usually perform better than daily uploads that feel rushed or repetitive.
Connecting Shopify to Instagram is less about technology and more about alignment. When the setup is correct, the tools fade into the background and the experience feels natural for customers.
Instagram becomes a discovery layer. Shopify becomes the conversion engine. Your job is to make the handoff feel seamless.
Set it up carefully, respect the process, and focus on clarity over shortcuts. That approach lasts longer than any trend or algorithm update.


